
How to Buy, Upgrade or Extend Your Plan
Everything to do with paying for SmartEngage happens on one screen: Plan & Billing. This guide shows how to buy a plan after your trial, renew before it ends, move from monthly to yearly, add devices part-way through a plan, and find the invoice for every payment.
SmartEngage
SmartEngage plans are paid for up front, one period at a time. There is no automatic renewal, so nothing is charged unless you choose to pay. That also means it is up to you to pay again before your plan runs out.
The steps below cover each kind of payment. The screen adjusts its button and summary to match what you are doing, so you always see what you are paying for before you pay.
Before You Pay
Open Plan & Billing from the Account section of the sidebar, or from the account menu. At the top you will see your current plan, its status and when it ends. Underneath is the Choose Your Plan card, where every payment starts.
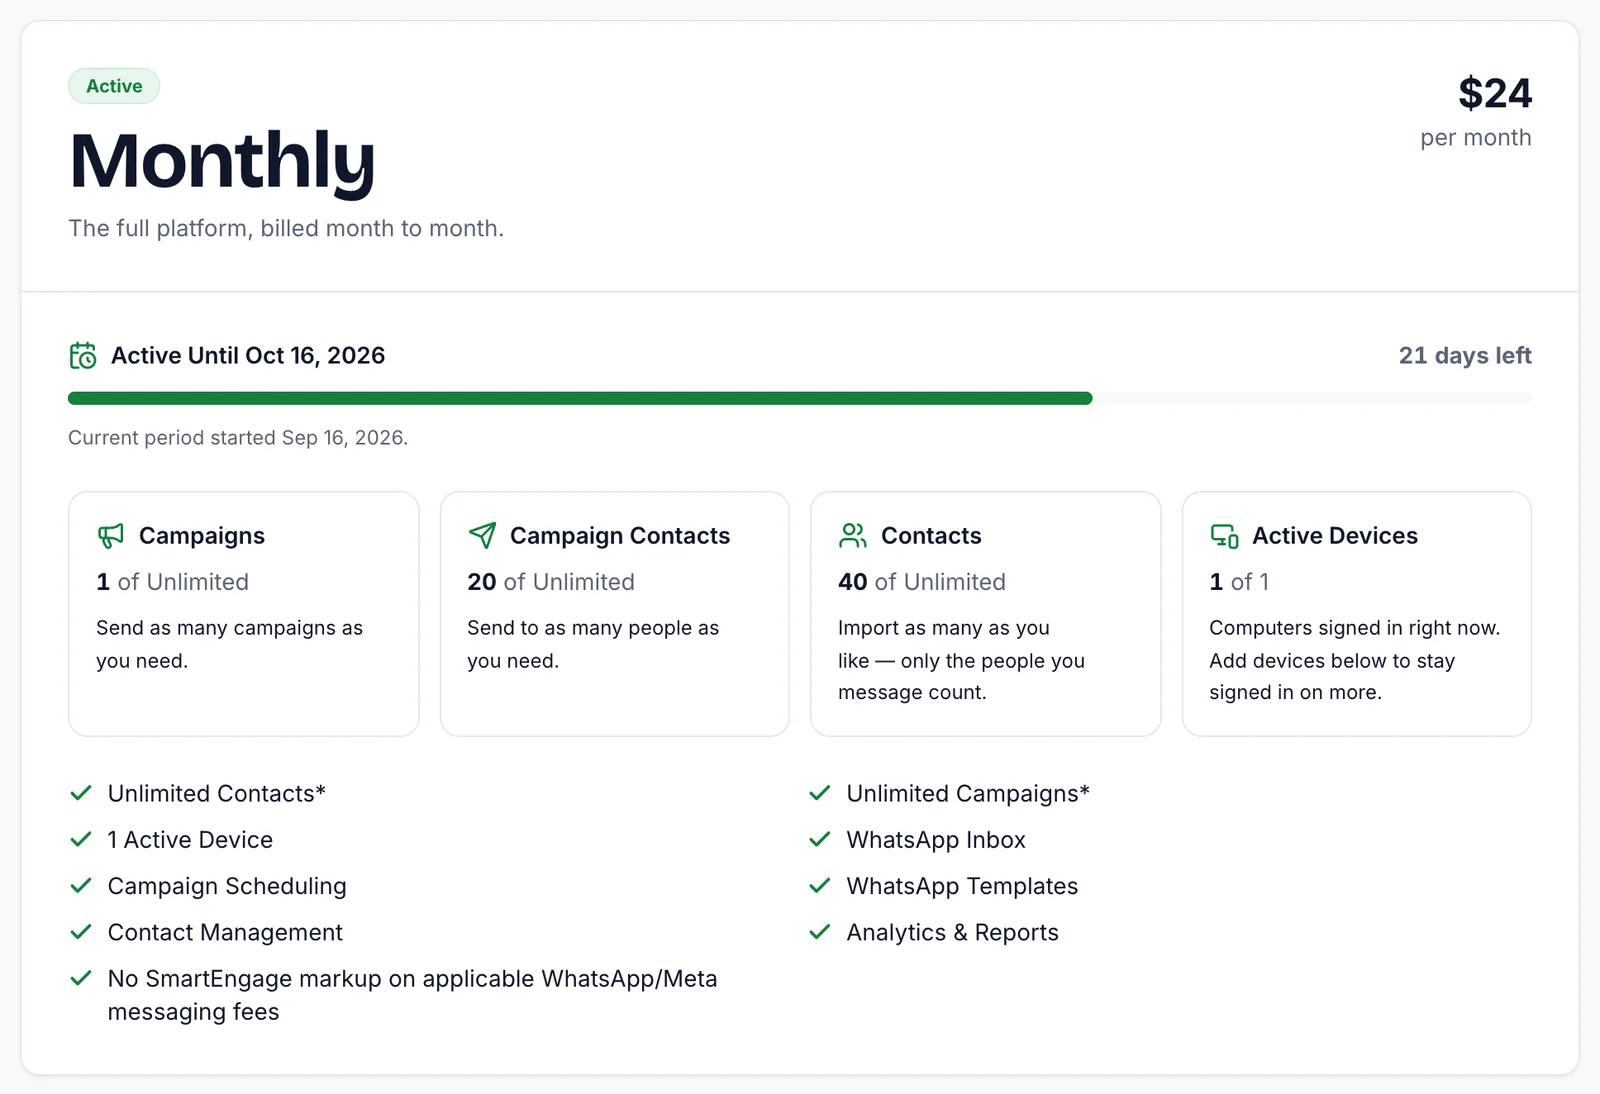
Payments are taken by Razorpay, by card or UPI. Your card details are entered in Razorpay's secure window and never reach SmartEngage.
If you are not sure which plan or how many devices you need, read How Plans, Devices and Billing Workfirst.
Step 1: Choose Monthly or Yearly
At the top of Choose Your Plan is a switch with two options, Monthly and Yearly. It is the same plan with the same features either way; only the billing period and the price change. When Yearly is selected, the card shows what that works out to per month and how much you save compared with paying monthly.
You can compare both prices on our pricing page.
Step 2: Decide on Extra Devices
Under Need More Devices? you choose how many computers can be signed in at once. Your plan includes one device, shown as No Extra Devices. The other options add a pack of devices, each labelled with the number of additional devices and the total number of computers that can be logged in.
Remember that a device is an active sign-in, not a WhatsApp number. Only add devices if more than one person or computer needs to use SmartEngage at the same time.
Step 3: Add a Promo Code (Optional)
If you have a promo code, type it into the Enter code box under Have a promo code? and press Apply. SmartEngage checks the code straight away. If it is accepted, the total updates and a line underneath says what was taken off. If it is not, you are told why, for example that the code is not recognised or has expired. Press Remove to take a code off again.
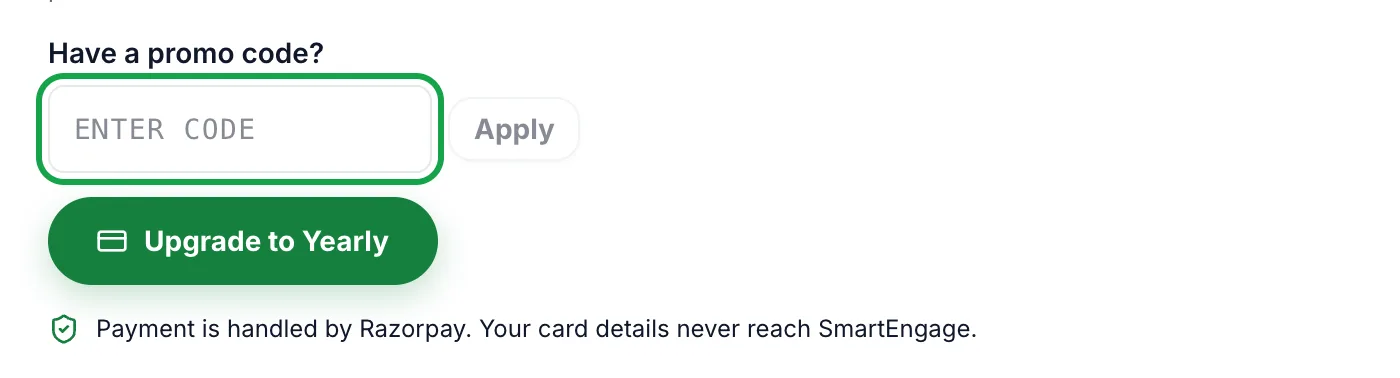
Codes are covered in detail in How to Use a Promo Code or Referral Code.
Step 4: Pay
Check the summary, then press the pay button. After a trial, or once a plan has ended, it reads Pay for Monthly or Pay for Yearly. Razorpay's payment window opens. Complete the payment there.
When the payment succeeds, the page reloads with your new plan, its end date and its allowances. The payment appears in Payment History straight away.
If the bank declines the payment, SmartEngage shows the reason and confirms that no money was taken, and Razorpay's window stays open so you can try again or use another method. Closing the window without paying simply cancels the attempt.
Renewing Your Plan
Because plans do not renew automatically, you pay again to continue. You can do this at any time while your plan is running, and you lose nothing by paying early: the new period is added after the end of the current one.
In the last two weeks of a plan, the overview card reminds you to pay again. If you renew earlier than that, the button reads Renew Monthly Early or Renew Yearly Early, and the page confirms the date your plan currently runs until. Any extra devices you already have are renewed with the plan.
If a plan does run out, the account becomes read-only until you pay. Your contacts, templates and campaigns are kept, and everything works again as soon as a new payment goes through.
Upgrading From Monthly to Yearly
If you are on the monthly plan and want to switch to yearly, select Yearly while your monthly plan is still running. The summary shows three lines: the price of the year, a credit for the unused days of your monthly plan, and the difference you pay.
Press Upgrade to Yearly and pay as normal. Your monthly plan ends that day and the year starts immediately. The days you had left are not lost, because they have already been taken off the price.
Going the other way is not possible mid-term. A yearly plan cannot be changed to monthly while it is running, since the year is already paid for. Choose Monthly when it comes up for renewal instead.
Adding Devices Part-Way Through a Plan
You do not have to wait for renewal to add devices. While a paid plan is running, choose a bigger device pack under Need More Devices? and the summary switches to an add-on:
- You pay only for the days left on your current plan, not a full period.
- Your plan's end date does not change.
- At renewal, the devices are charged for the full period along with the plan.
- The button reads Add followed by the number of devices, for example Add 1 Device.
If only a few days are left, the prorated amount can be smaller than the minimum payment Razorpay will take. In that case SmartEngage tells you, and you can add the devices when you renew.
Choosing fewer devices than you currently have is also allowed when you upgrade or renew. SmartEngage warns you before you pay how many computers will be signed out when the payment completes. The computer you are paying from always stays signed in.
Finding Your Invoices
Every successful payment has an invoice. There are two places to find it:
- The overview card at the top of Plan & Billing shows your last payment with a View Invoice button.
- The Payment History section lists every payment with its date, what it was for, the amount and a status of Paid, Not Completed, Failed or Refunded. Paid payments show their invoice number as a button that opens the invoice.
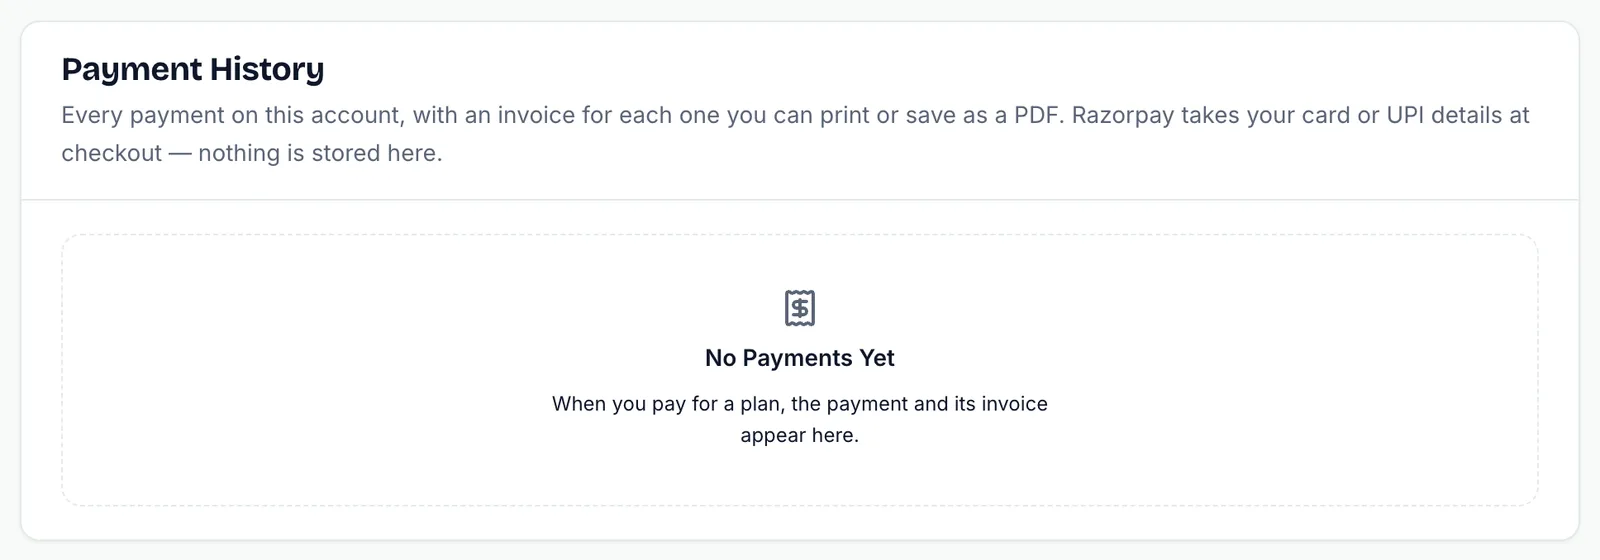
On the invoice page, press Download PDF to save a copy, or Print to use your browser's print dialog. Invoices list any discount and any upgrade credit on their own lines, and note that WhatsApp message charges are billed separately by Meta.
If Something Goes Wrong
Occasionally a payment goes through at Razorpay but the page cannot confirm it straight away. SmartEngage then says the payment went through and will appear on your account shortly. Do not pay a second time. If it has not appeared after a while, get in touch.
Our team can help with any billing question through the contact page.
Related Guides
To manage the devices you have paid for, see How to Manage Devices and Sessions.
Meta bills WhatsApp message charges separately from your plan. To set that up, follow How to Add a Payment Method for WhatsApp.
Tagged
BillingGetting StartedPricingReady to send safely?
Start free — no new number, no setup fee, no card required.
Keep Reading
 Account & WhatsApp Setup5 min read
Before You Connect WhatsApp: What You Need
Most failed WhatsApp connections fail for a reason that could have been fixed beforehand. Here is what to have in hand before you click Connect With Facebook.
Read guide Troubleshooting6 min read
Fixing Contact Import Problems
Symptom-by-symptom fixes for SmartEngage contact imports: files that will not upload, wrong column mapping, rejected numbers, duplicates and imports that stop.
Read guide Account & WhatsApp Setup5 min read
How to Add a Payment Method for WhatsApp
Connected but nothing sends? Meta bills WhatsApp messages itself, and needs a payment method on the right business portfolio. Here is how to add one and confirm it in SmartEngage.
Read guide