
How to Import Customers from Shopify or WooCommerce
Your online store already holds the phone numbers your customers gave at checkout. SmartEngage can read them straight from Shopify or WooCommerce, so you can bring buyers into a contact book without exporting a file. This guide covers what each store needs to connect, which customer fields become contact fields, and how to disconnect.
SmartEngage
Shopify and WooCommerce both appear under Websites and shops when you import contacts, but they connect in different ways. Shopify asks for your store's address and then sends you to your own Shopify admin to approve access. WooCommerce asks for your store address and a read-only key you create in WordPress.
Once connected, both work the same way: you fetch your customers, check the preview, choose who to bring across and import.
Where to Start
Go to the Contacts page and press Import Contacts. Choose the Contact book the customers should go into, then under Choose a source select Shopify or WooCommerce.
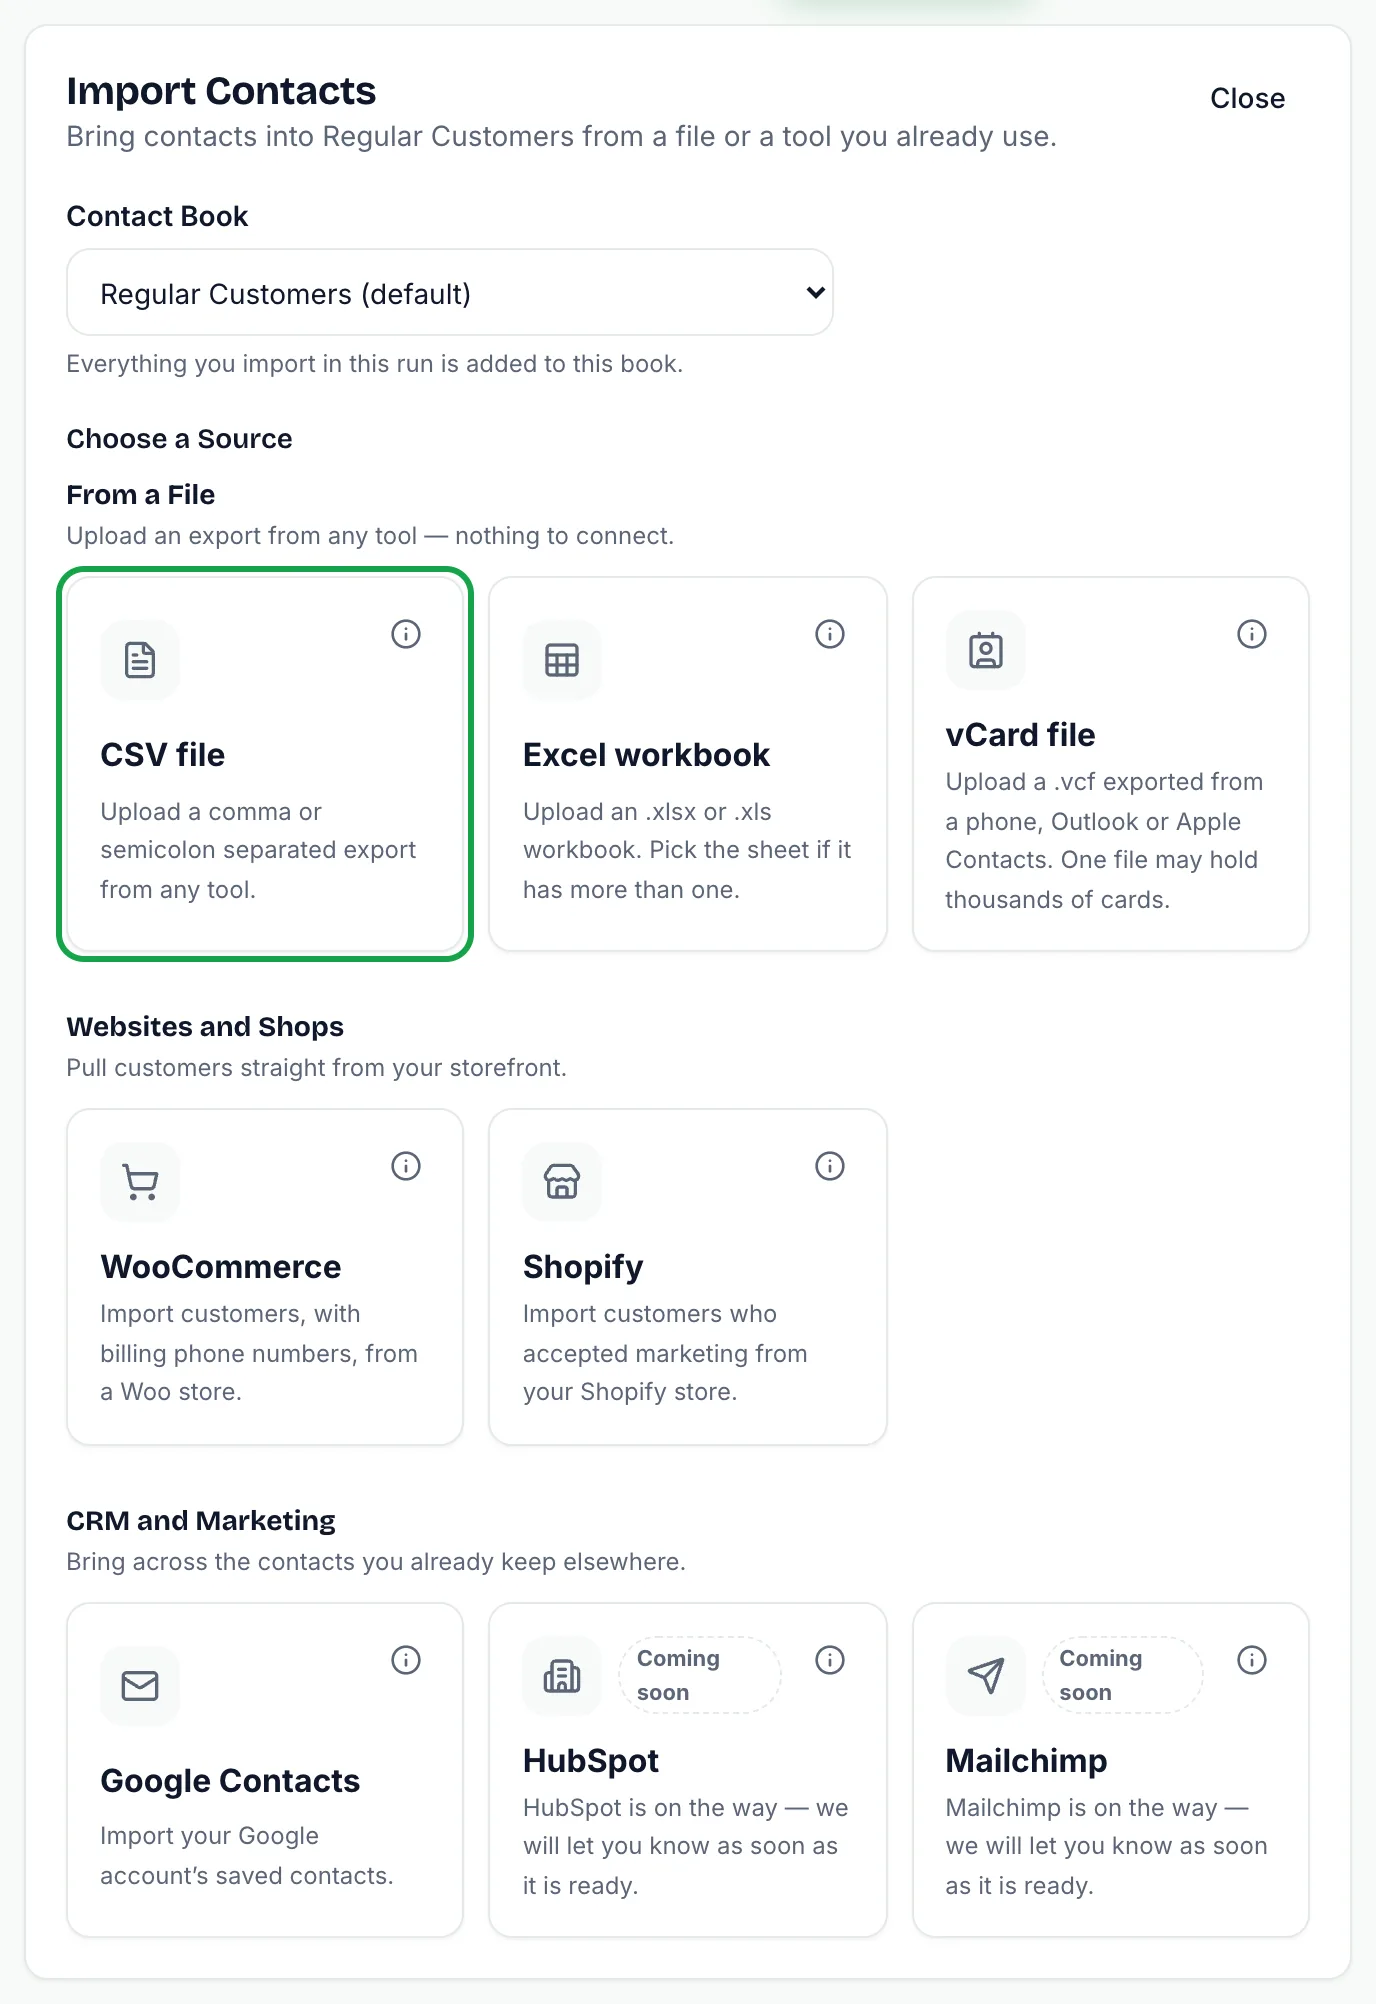
On the next screen, set the country for numbers without a country code. Numbers that start with + keep their own code, but a store that accepts local numbers at checkout needs this set correctly.
If you get stuck, How to connect Shopify or How to connect WooCommerce at the top of the screen opens a step-by-step guide for that store.
Connecting Shopify
Shopify does not use an API key or a pasted token. You approve the connection inside your own Shopify admin.
Before you start, have your store's .myshopify.com address to hand, and a Shopify staff account that is allowed to approve app access to customers.
- Step 1: In the Shop domain field, enter your .myshopify.com address, for example my-store.myshopify.com. Use the address Shopify gave you, not the custom domain your customers see. It decides which store you are authorising.
- Step 2: Press Continue to Shopify. You are sent to your own Shopify admin and sign in there. No Shopify password is ever typed into SmartEngage.
- Step 3: Shopify lists the access being requested. Review it and approve. You come straight back to SmartEngage, connected.
- Step 4: Press Fetch contacts from Shopify, then check the preview.
If the address is not in the right form, SmartEngage asks you to enter your Shopify domain in the form my-store.myshopify.com.
The access requested is read-only access to customers. SmartEngage never changes anything in your store. The connection renews itself in the background and keeps working until you disconnect it in SmartEngage or remove the app in Shopify.
Connecting WooCommerce
WooCommerce connects with a REST API key. Before you start you need a WooCommerce store served over https, administrator access to its WordPress admin, and a key with Read permission.
- Step 1: In your store's WordPress admin, open WooCommerce, then Settings, then Advanced, then REST API.
- Step 2: Add a key. Choose a user, give the key a description you will recognise later, and set Permissions to Read. Read is everything SmartEngage uses.
- Step 3: Copy the consumer key, which begins ck_, and the consumer secret, which begins cs_. WooCommerce shows them only once, so copy both before leaving the page.
- Step 4: Back in SmartEngage, fill in Store address, Consumer key and Consumer secret, and press Connect.
The Store address must start with https. The key and secret travel with each request, and SmartEngage will not send them over an unencrypted connection. If you enter an http address, you will be asked for the secure one.
When you press Connect, SmartEngage fetches one customer straight away to prove the key works and has read access. If it does, the store is saved as connected and the Fetch contacts from WooCommerce button appears. The key is encrypted before it is stored.
Which Customer Fields Map to a Contact
Each store's fields are matched to contact fields automatically. You can see the match in the Column mapping box and change it with Change columns before you import.
From Shopify, a contact can carry:
- Name, with first and last name joined
- Phone, from the customer record or, if that is empty, from their default address
- Company, from the default address
- Address, joined into one line
- Notes, from the customer note
- Tags, from the customer's tags
From WooCommerce, a contact can carry:
- Name, as the customer typed it at checkout
- Phone, from the billing address
- Company, from the billing address
- Address, joined into one line
Addresses are joined into a single line because stores fill in different parts of an address depending on the country.
Checking the Preview
Every customer in the store is fetched, so the preview is where you decide who to bring across. It shows Found, New contacts, Duplicates and Cannot import.
- A customer with no phone number cannot be messaged. They appear under Cannot import with the reason, rather than being dropped silently.
- Customers you already hold, matched on phone number or email address, appear under Duplicates and are skipped unless you tick the option to update them.
- You can search by name, number or email and untick anyone you do not want.
Having bought from you is not the same as agreeing to marketing on WhatsApp. Imported customers are marked as opted in, so use the preview to bring across only the people who have agreed to hear from you.
For how to build a list of people who have agreed, read Growing a WhatsApp List That People Actually Want to Be On.
Importing and Reading the Result
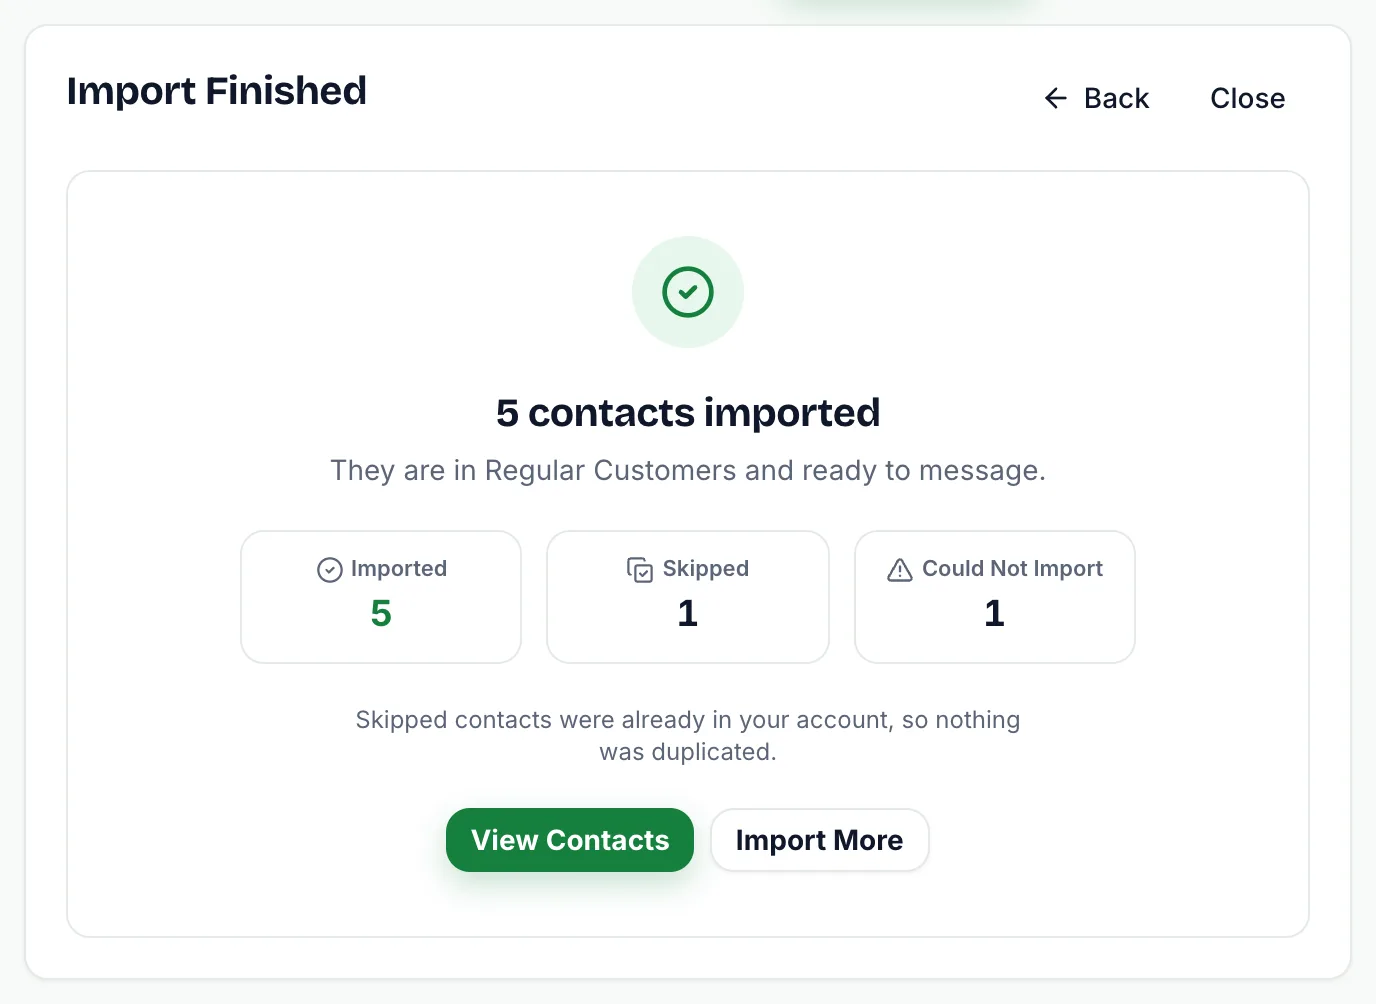
The line under the preview shows how many contacts will be added and to which book. Press the Import button to start. The import runs in the background with a progress bar, and the result screen reports Imported, Skipped and Could not import.
Only one import can run on an account at a time. If another is still running, you are asked to wait for it to finish.
Bringing In New Customers Later
The connection is kept, but new customers are not copied automatically. When you want the latest buyers, open Import Contacts, select the store and fetch again. Customers you already hold show up as duplicates and are skipped, so only the new ones are added.
WooCommerce customers are read oldest first, which keeps a long import stable while new customers are signing up in the meantime.
Disconnecting a Store
Open Import Contacts, select the store's card and press Disconnect beside the Connected message. SmartEngage deletes the stored authorisation or key straight away. Customers you already imported stay in your contact books.
Disconnecting removes access on the SmartEngage side only. For WooCommerce, the key still exists in your store until you revoke it on the same REST API screen where you created it. For Shopify, you can also remove the app from your Shopify admin.
If a Shopify card ever shows Reconnect, access was withdrawn on the Shopify side. Select the card and connect again.
If a fetch or import fails, see How to Check an Import's Results and Fix a Failed Import.
Related Guides
New to connected sources? Read What Contact Connectors Are and When to Use One.
Next, prepare the message you will send: How to Create a Message Template.
Before your first campaign, read How to Send Bulk WhatsApp Messages Without Getting Your Number Banned.
Tagged
ContactsGrowthIntegrationsReady to send safely?
Start free — no new number, no setup fee, no card required.
Keep Reading
 Account & WhatsApp Setup5 min read
Before You Connect WhatsApp: What You Need
Most failed WhatsApp connections fail for a reason that could have been fixed beforehand. Here is what to have in hand before you click Connect With Facebook.
Read guide Troubleshooting6 min read
Fixing Contact Import Problems
Symptom-by-symptom fixes for SmartEngage contact imports: files that will not upload, wrong column mapping, rejected numbers, duplicates and imports that stop.
Read guide Account & WhatsApp Setup5 min read
How to Add a Payment Method for WhatsApp
Connected but nothing sends? Meta bills WhatsApp messages itself, and needs a payment method on the right business portfolio. Here is how to add one and confirm it in SmartEngage.
Read guide