
How to Add and Edit a Contact
Not every contact arrives in a spreadsheet. A new customer at the counter, a supplier you just met or your own number for test sends are quicker to add by hand. This guide shows the Add a Contact form field by field, explains what can go wrong, and covers how to edit a contact after it has been saved.
SmartEngage
Adding a contact by hand takes under a minute. The form asks for the few things SmartEngage needs to message someone properly: a WhatsApp number with the right country code, the book to file them in and whether they have agreed to hear from you.
The second half of this guide explains how to edit a saved contact, and the one detail that cannot be changed.
Step 1: Open the Add Contact Form
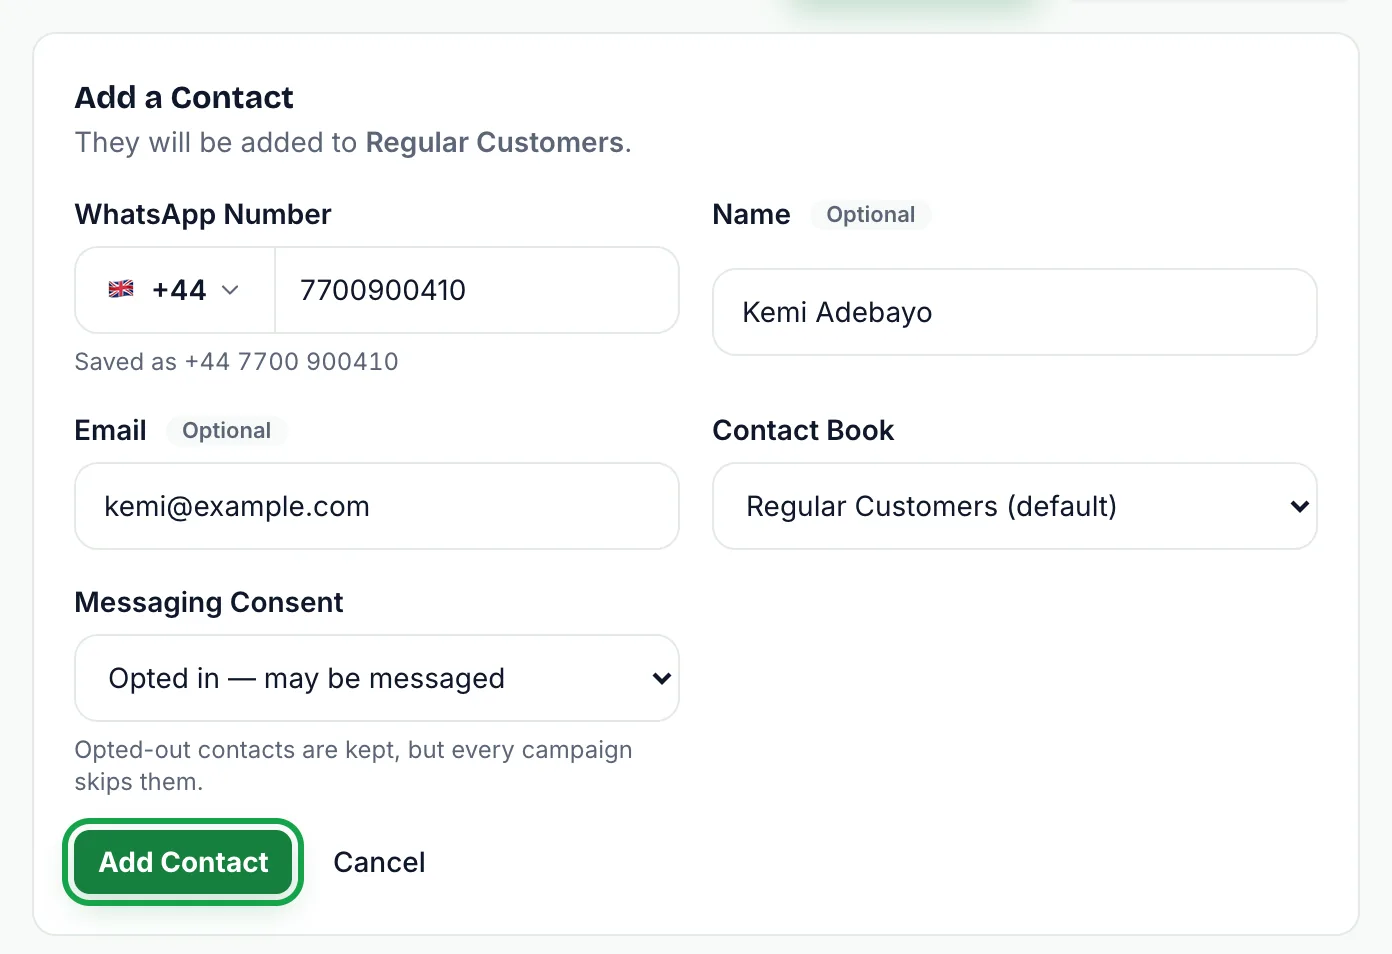
Go to the Contacts page and, if you like, open the book you want the contact to join. Then select "Add Contact" at the top of the page. A form titled "Add a Contact" opens above the table, with a line telling you which book the contact will be added to.
Step 2: Enter the WhatsApp Number
The WhatsApp number field has two parts: a country picker showing the flag and dialling code, and a box for the rest of the number.
- Pick the contact's country. SmartEngage starts on the country it detects for you, so check it when adding someone from abroad.
- Type the number without the country code, using digits only. Spaces and other characters are ignored as you type.
- If you type the leading 0 that many countries use for local dialling, the form drops it for you. A Kenyan number written locally as 0712 345 678 can be typed as 0712345678 or 712345678 with Kenya selected, and both are saved as +254712345678. Only one leading 0 is removed.
Once the number is long enough, the form shows "Saved as" under the field with the full international number, so you can check it before saving. It must be a valid number in that format to be saved.
Step 3: Add a Name and Email
Name and Email are both optional. A name makes the contact easy to find and recognise in the table, so it is worth adding when you know it. The email is stored in lower case and must be a valid address if you enter one.
Step 4: Choose the Contact Book
The Contact Book list shows every book in your account, with your default book marked "(default)". It starts on the book you had open, or on your default book if you were looking at All contacts. Change it if the contact belongs somewhere else.
Need a new book first? See How to Create and Manage Contact Books.
Step 5: Set Messaging Consent
The Messaging Consent list has two options:
- Opted in — may be messaged
- Opted out — do not message
It starts on opted in. Choose opted out when you need to keep a record of someone who has asked not to be contacted. As the form explains, opted-out contacts are kept, but every campaign skips them.
You do not have to track replies yourself. If a contact replies STOP or UNSUBSCRIBE to your WhatsApp number, SmartEngage opts them out automatically, and a reply of START opts them back in.
Step 6: Save the Contact
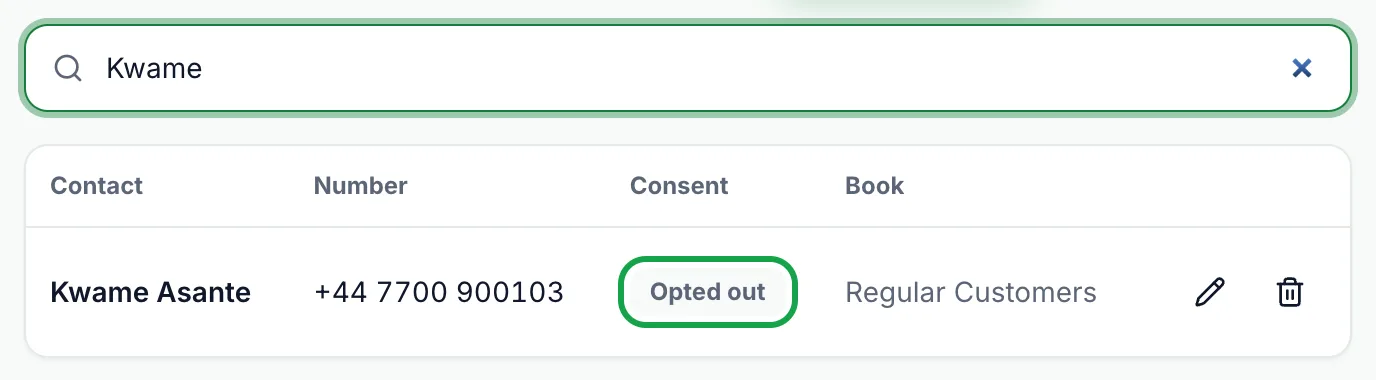
Select "Add Contact" at the bottom of the form. The form closes and the new contact appears in the table, with an "Opted In" or "Opted Out" badge in the Consent column. Select "Cancel" to close the form without saving.
If the Contact Will Not Save
The form tells you what went wrong in a message above the fields. The common ones are:
- Enter a valid number, digits only, without the country code: the number box has fewer than six digits.
- That number is already in your contacts: each number can exist only once in your account. Search for it on the Contacts page to find the existing contact and its book.
- A message that the phone must be a valid number in international format: the number is too short or too long once the country code is added. Check the country and the digits.
- A message that your plan holds up to a set number of contacts: you have reached your plan's contact limit. Remove a contact you no longer need, or upgrade.
- A message that your plan ended and the account is read-only: your existing contacts are safe, but new ones cannot be added until you choose a plan.
How to Edit a Saved Contact
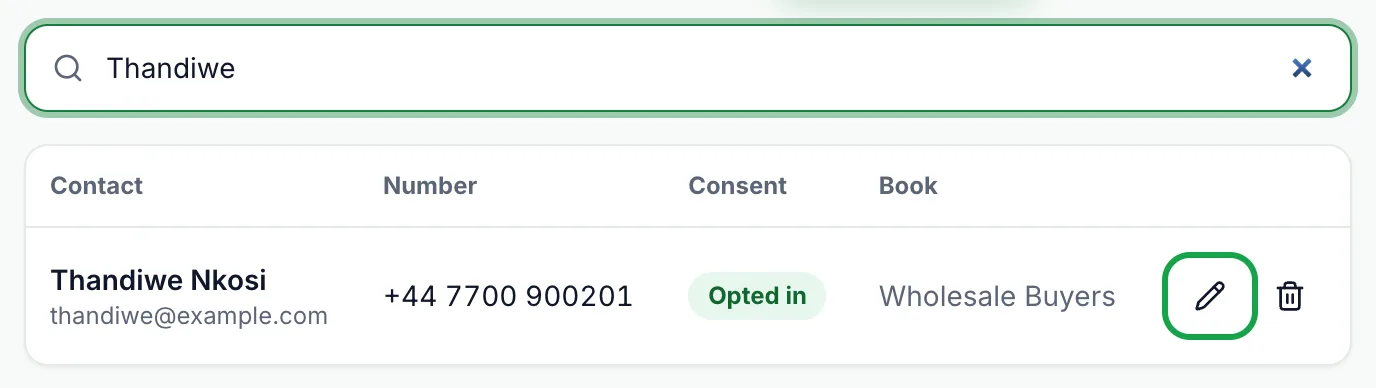
Find the contact on the Contacts page, using the search box if the list is long, and press the pencil Edit button at the end of its row.
The same form opens, titled "Edit Contact" and filled in with what you hold. Change what you need, then press "Save Changes". Select "Cancel" to close it without saving.
- Name and Email: correct them, or clear the box and save to remove that detail from the contact.
- Contact Book: choose another book to move the contact there, or choose "Not in a Book" to take it out of every book.
- Messaging Consent: switch the contact to opted out if they have asked not to be messaged, and every campaign skips them from then on. Only switch someone back to opted in if they have agreed to hear from you again. The form reminds you of this when you choose it.
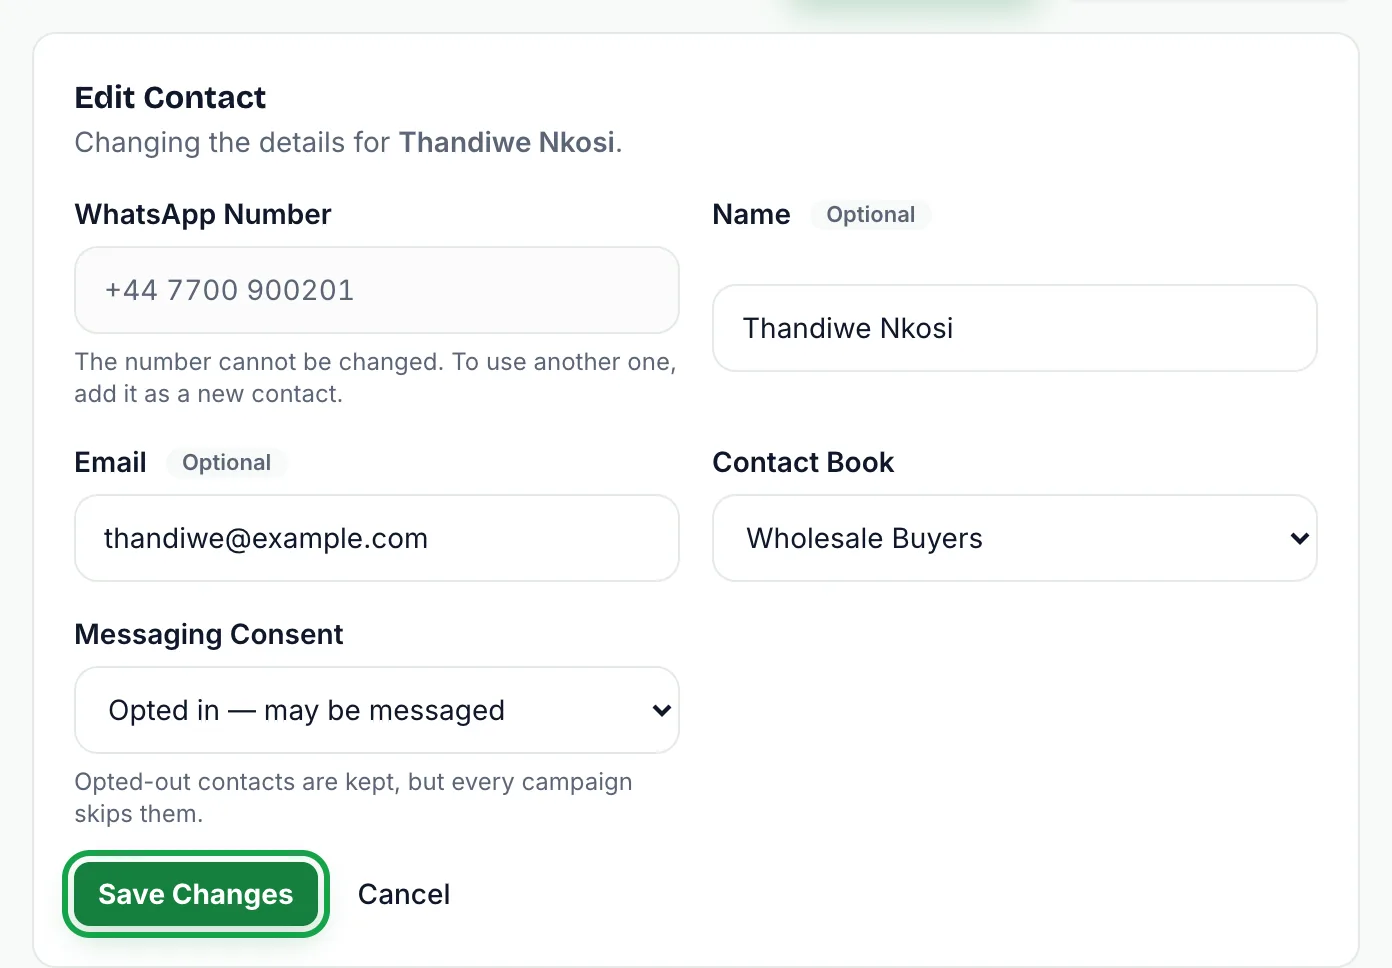
The WhatsApp number cannot be changed. It is shown read-only, because the number is the contact's identity and a different number is a different contact. To use another number, add it as a new contact, and remove the old one with the bin icon on its row if you no longer need it. Removing a contact cannot be undone.
Consent also changes by itself: a contact who replies STOP or UNSUBSCRIBE is opted out automatically, and a reply of START opts them back in.
To change many contacts at once, it is quicker to move them together with "Move to Other Contact Book" from their book, or to re-import them with the preview option to update the contacts you already have switched on.
Details That Arrive by Import
Some fields are not on the form because they come from richer sources. A contact imported from a vCard file, a connected app or a spreadsheet with extra columns can also hold a company, job title, address, website, notes, tags and a record of the source it came from. If you need those details, importing is the way to add them.
Related Guides
For how books, consent and campaigns fit together, read How Contacts and Contact Books Work in SmartEngage.
For how consent, duplicates and invalid numbers are handled, read Duplicates, Invalid Numbers and Opt-outs Explained.
To add many people at once, see How to Import Contacts from a CSV File.
Added your own number for testing? Send yourself a test with How to Choose Who Receives a Campaign.
Tagged
ContactsGetting StartedOpt-InReady to send safely?
Start free — no new number, no setup fee, no card required.
Keep Reading
 Account & WhatsApp Setup5 min read
Before You Connect WhatsApp: What You Need
Most failed WhatsApp connections fail for a reason that could have been fixed beforehand. Here is what to have in hand before you click Connect With Facebook.
Read guide Troubleshooting6 min read
Fixing Contact Import Problems
Symptom-by-symptom fixes for SmartEngage contact imports: files that will not upload, wrong column mapping, rejected numbers, duplicates and imports that stop.
Read guide Account & WhatsApp Setup5 min read
How to Add a Payment Method for WhatsApp
Connected but nothing sends? Meta bills WhatsApp messages itself, and needs a payment method on the right business portfolio. Here is how to add one and confirm it in SmartEngage.
Read guide